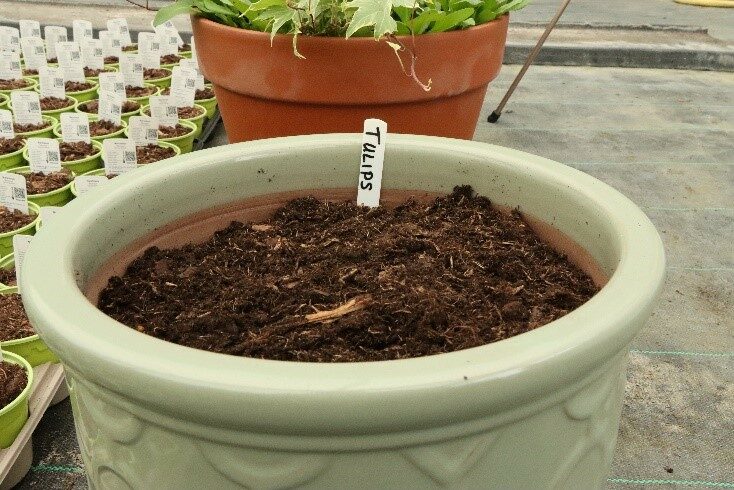
November is the perfect time of year to plant tulips for their joyful spring colour. They can be planted in the ground or in a pot which can be placed in full view as the bulbs burst into flower in spring. Here’s our guide to planting and growing tulips in a pot.
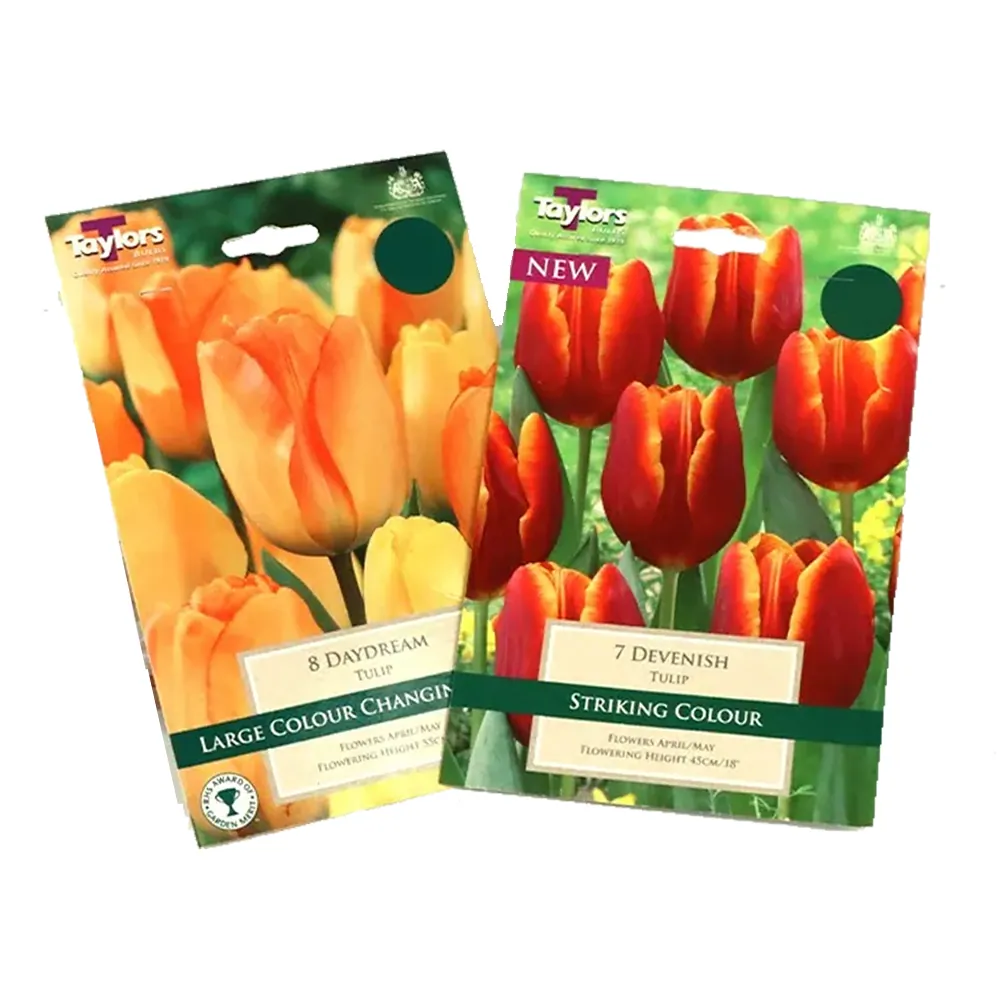
1. Choose tulips which will flower at the same time. You can choose one variety for an impact of colour or combine a few varieties; two different heights will give a staged display.
2. When selecting a pot remember a bigger one is easier to keep watered and, for best results, needs to be deep enough. Bulbs need to be planted at least two to three times their depth. It must have drainage holes at the bottom.
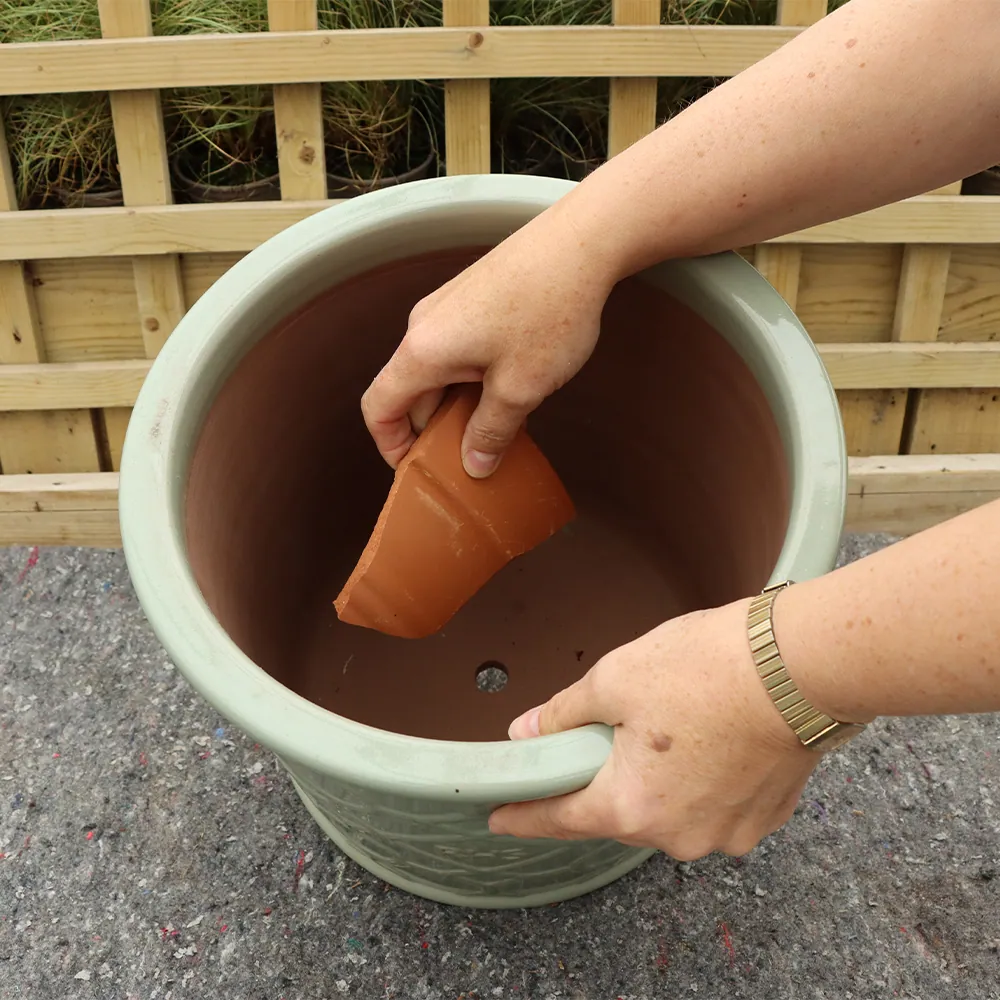
3. Place a crock or large stone over the hole to prevent soil falling out, but not so that the hole is blocked as water needs to drain out freely.
4. Good drainage is essential, so use either bulb fibre or free draining multi-purpose compost mixed with horticultural grit to half fill the container.
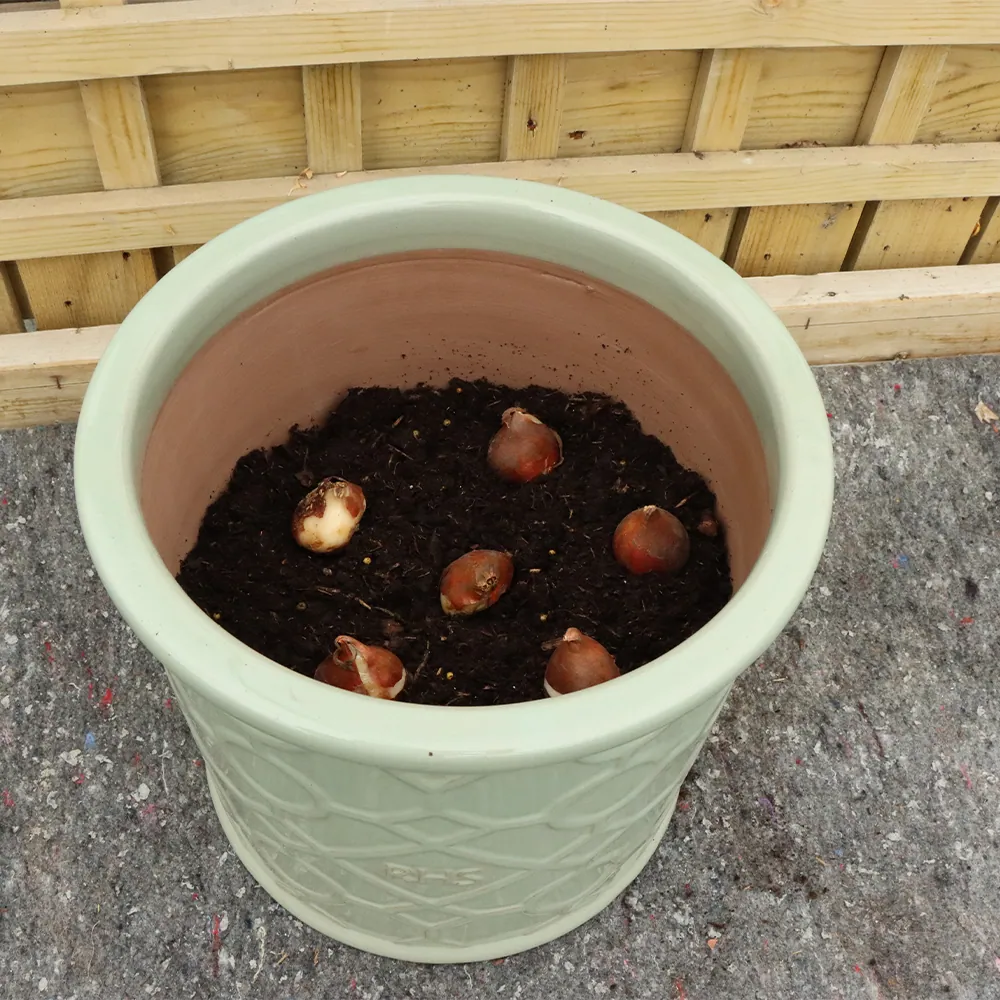
5. Space out one variety of tulip evenly, pointy end up. The bulbs shouldn’t be touching each other or the edge of the pot.
6. Add a little more compost but make sure you know where the first layer of tulips are.
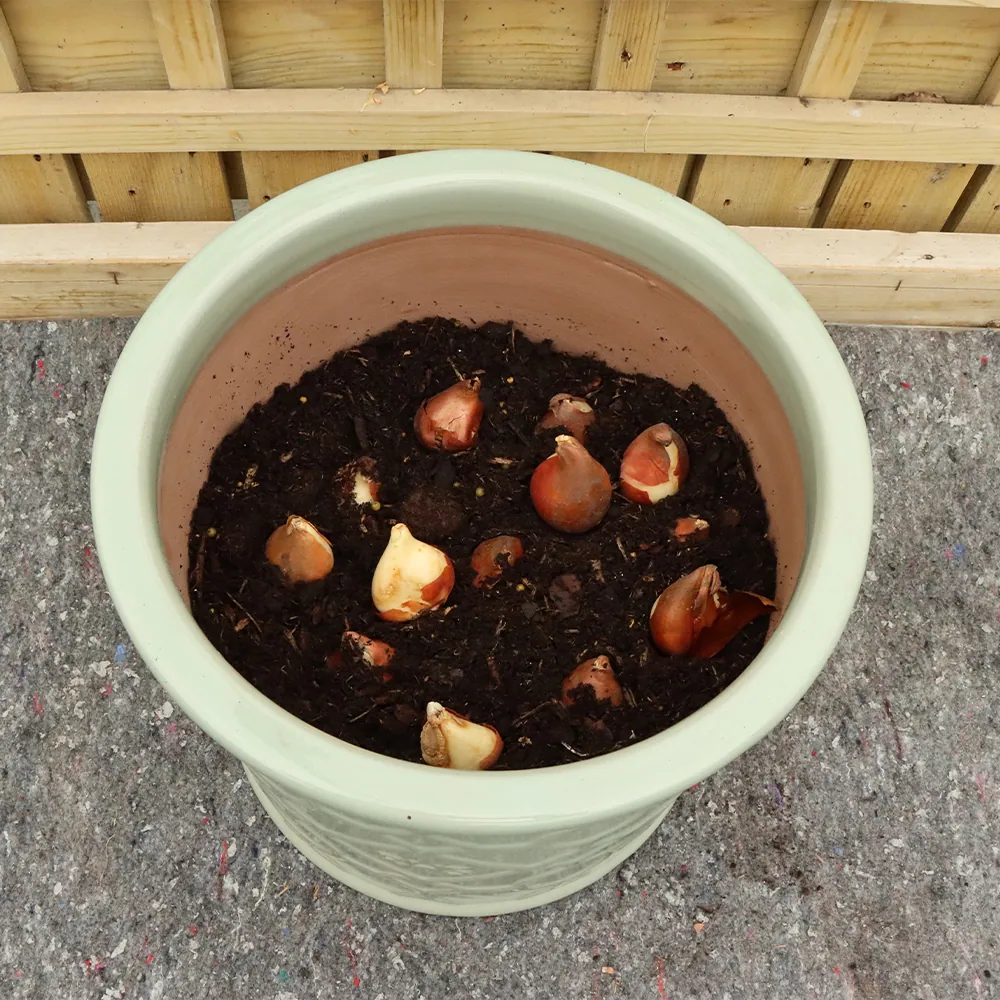
7. Add more tulips in the gaps between the ones in the first layer. Again so that they are not touching each other or the edge of the pot.
8. Fill your pot to within an inch of the top with compost and label.
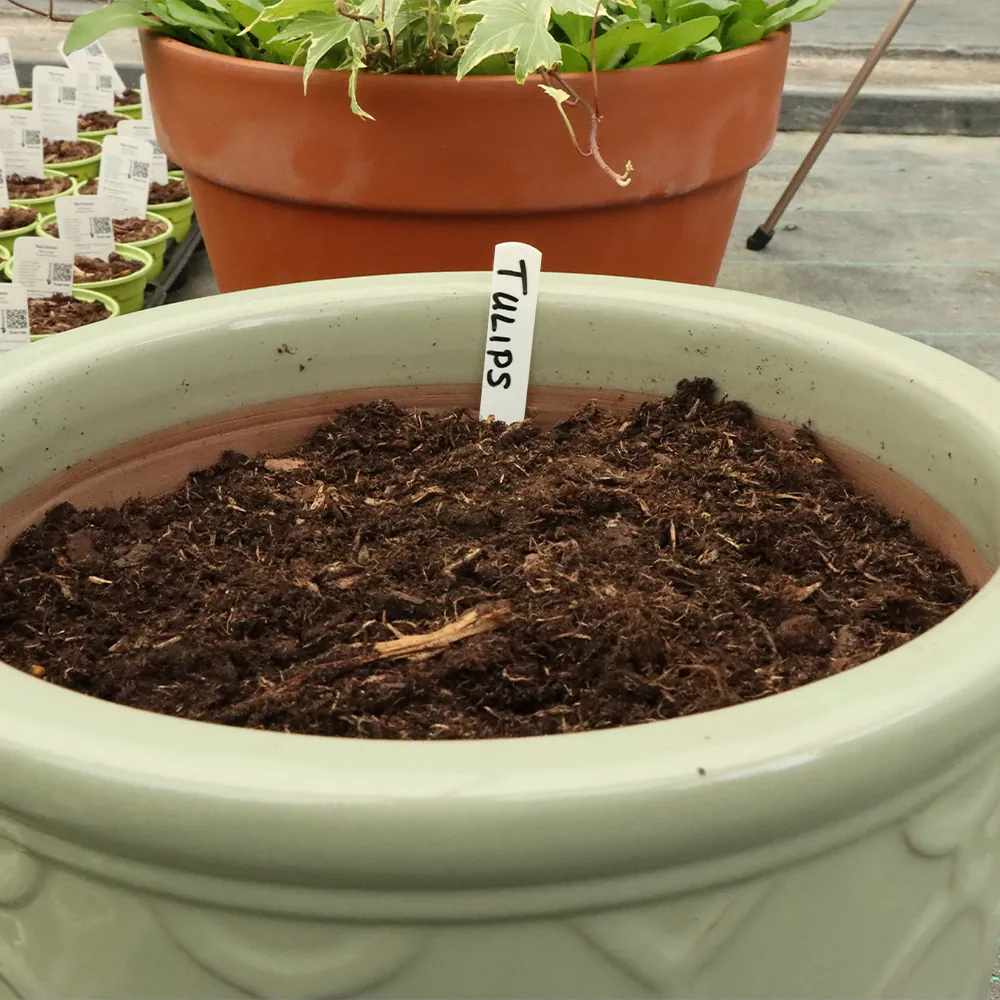
9. Place outdoors somewhere sheltered where it won’t get too wet.
10. You could add some colourful bedding to the top to see you through the winter. Pansies or violas will flower in all but the coldest weather and the tulips will push their way up through them in spring.
11. Beware, squirrels do like to dig up tulips, adding bedding to the top will deter them or cover with some mesh or fleece until the shoots emerge.


