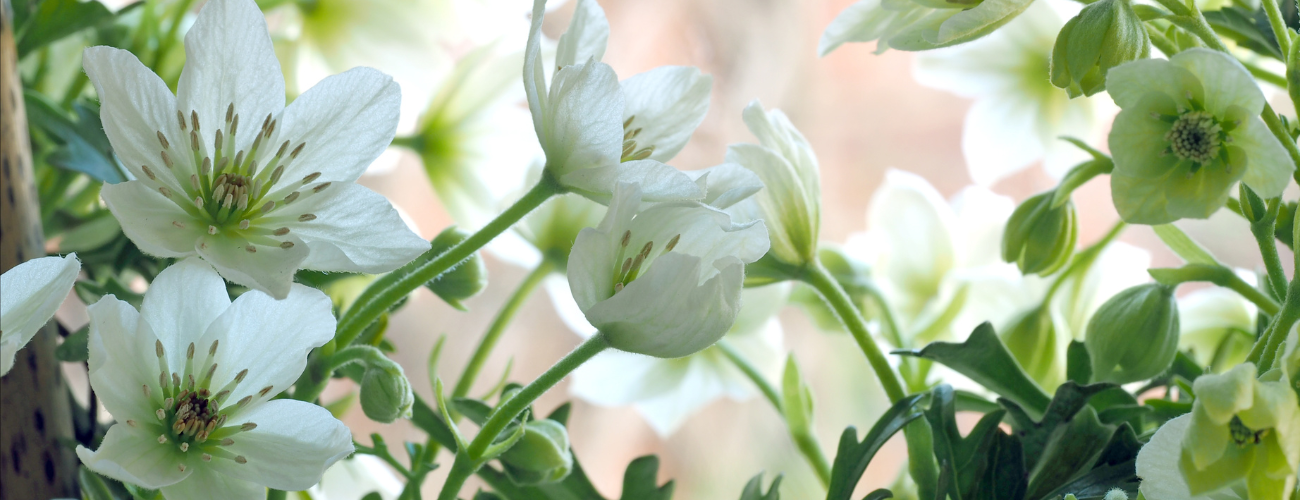
April is a great time to start planting clematis in the UK. This beautiful climbing plant is a popular choice for gardeners, with its striking flowers and ease of care. Whether you’re an experienced gardener or just starting out, planting clematis is a great way to add some colour and interest to your garden.
What are Clematis?
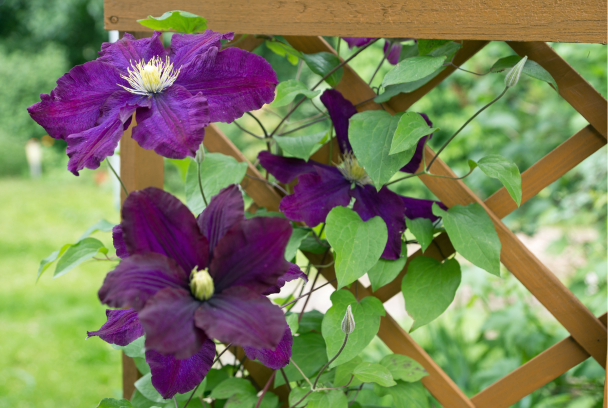
Clematis are a large group of versatile flowering climbing plants which are very popular for bringing colour into the garden. The flowers of clematis are actually sepals rather than petals. They come in many colours and sizes, from singles to double, open flat flowers, dangling bell shaped and upright tulip shaped blooms. They are particularly useful for clothing walls, fences, pergolas and arches. With over 350 different varieties of clematis they range from small flowered to ones as large as dinner plates. Although most clematis are deciduous, some are evergreen, giving you interest all year round. Varieties of clematis flower at different times of the year. With careful choices you could have some in flower almost all year round.
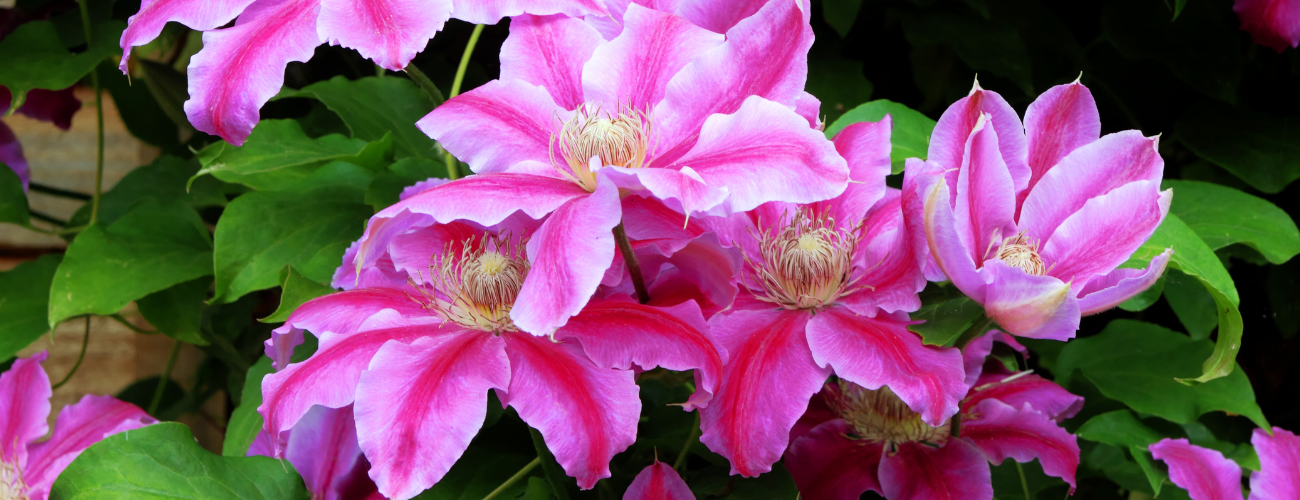
How to Choose Which Clematis to Grow
First decide where in your garden you want to grow a clematis. Is it to cover an ugly wall or fence, is it to clothe an arch or pergola or do you want to grow one through another shrub? Clematis grown through large shrub roses can complement each other beautifully. Some clematis, such as montana types, are vigorous and fast growing. They can reach 6-10m in the right conditions. Others are much shorter and can be grown in pots. Some clematis like to be in full sun and others like part shade. All clematis prefer to have their roots shaded even if the rest of the plant is in full sun. Clematis in full shade will flower quite poorly.
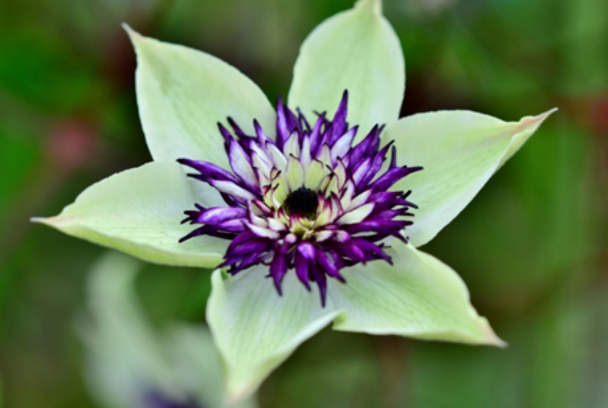
Next decide at which time of year you want it to flower. Winter to spring, late spring to early summer or late summer to autumn.
Thirdly choose your colour. Clematis are available in every colour except bright orange, most are in the red, pink, purple, blue and white range.
When choosing your plant check the label information. This will tell you the height it will reach, if it likes sun or part-shade and the group number.
Clematis Groups and Pruning Regimes
Clematis are grouped according to their flowering and pruning requirements.
Group 1 Clematis
Group 1 are the winter to spring flowering varieties which flower on old growth; for example Clematis. armandii, C. cirrhosa, C. alpina and C. montana varieties. They do not need pruning unless they get too big. Damaged stems can be removed after flowering. Most of these are evergreen clematis so will clothe a wall all year round. They tend to have smaller flowers than the summer flowering varieties. They also tend to be big plants that can reach up to 10m and will need strong supports.
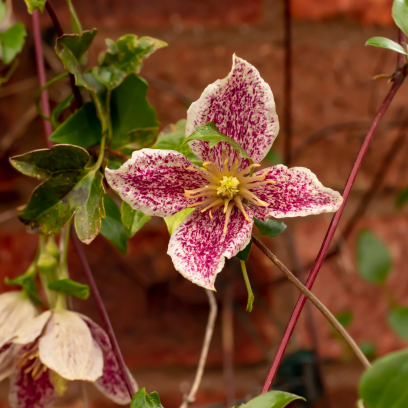
Clematis cirrhosa ‘Freckles’
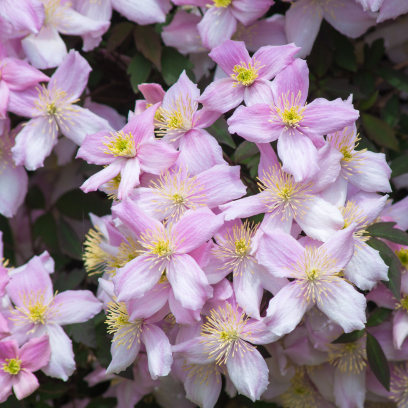
Clematis montana
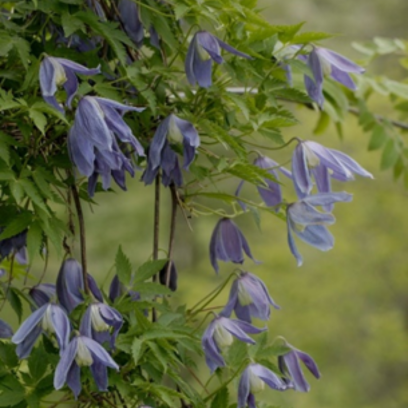
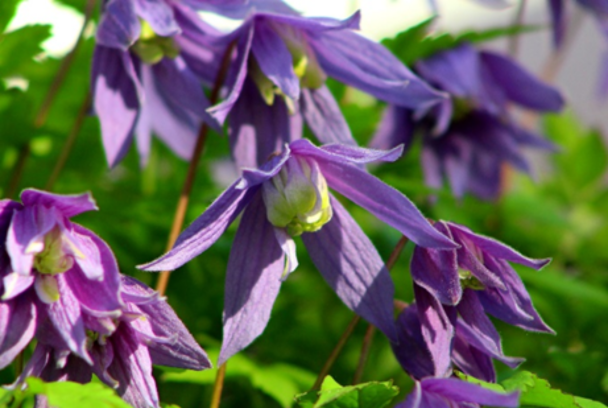
Clematis alpina ‘Blue Dancer’
Group 2 Clematis
Group 2 are large flowered hybrids which bloom on the previous year’s growth. Without pruning the plants will become top heavy and have a poor display. In February trim back any weak or damaged stems and prune other stems to just above the strongest, highest buds. They flower in spring and early summer. After the first flush of flowering, cut back stems again by a half to just above a pair of buds. This will stimulate new buds and they will flower again in late summer to early autumn.
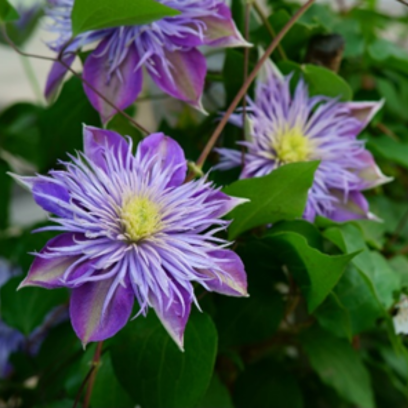
Clematis ‘Crystal Fountain’
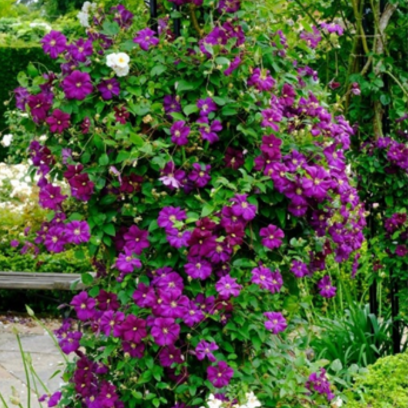
Clematis’ Warszawska Nike’
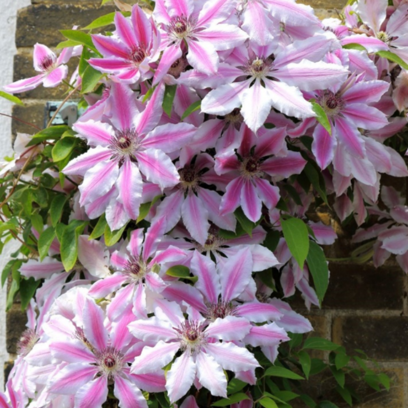
Clematis ‘Nelly Moser’
Group 3 Clematis
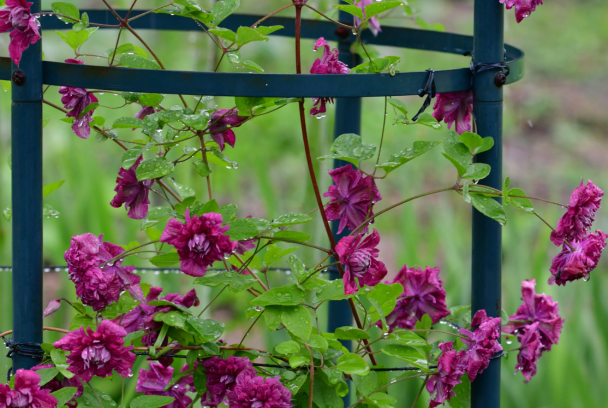
Group 3 are the late flowering varieties which only flower on new growth. Group 3 includes the C. viticella and C. texensis and tangutica types. All group 3 clematis should be cut down every February or March. Cut to just above a pair of buds about 30cm above the ground. These varieties are useful for growing through shrubs such as roses or on obelisks and are perfect for pots.
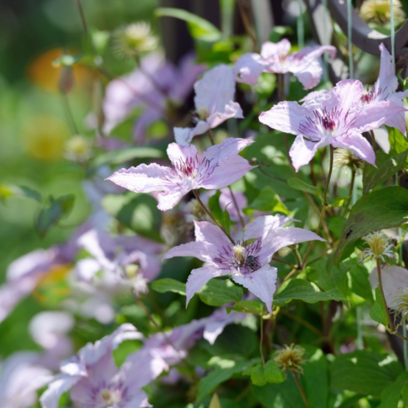
Clematis ‘Hagley Hybrid’
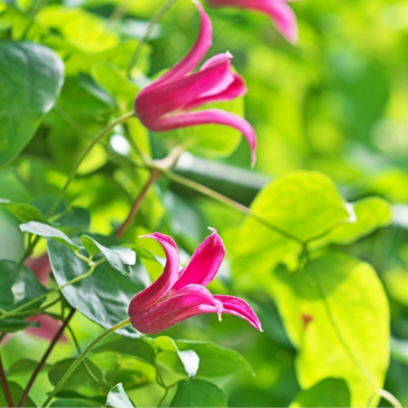
Clematis texensis ‘Princess Diana’
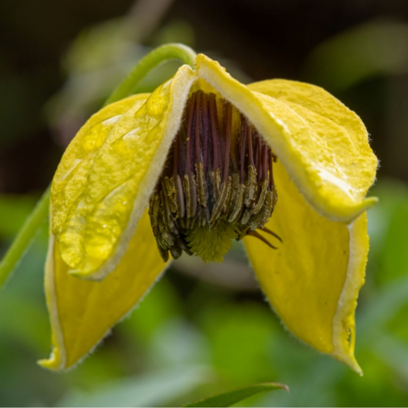
Clematis tangutica
Planting Clematis
Clematis require moisture retentive soil so before planting dig a deep hole and work in some compost. If planting against a fence or wall dig the planting hole 45 cm in front of its base. Place it further out if there is an overhanging roof.
Sprinkle mycorrhizal fungi in the hole to come into contact with the roots. This promotes better rooting, helping the plant to establish well. Large flowered types of clematis should be planted with the top of the rootball 10 cm below the surface of the soil. This encourages new shoots to grow from below the ground and helps to protect against the fungal disease Clematis Wilt. Other types of clematis can be planted with the top of the rootball just below the soil surface. Provide strong canes to help the stems reach their permanent support and mulch to retain moisture. Feed in spring with a potassium rich fertiliser, like Vitax Q4 or rose fertiliser, around the base and mulch on top. Clematis prefer to have their roots in shade so if there are no plants in front to shade the roots add some tiles or pebbles.
If you want your clematis to grow through a large shrub or tree, plant it at least 1 metre away to avoid the roots. Use canes or wire to train the clematis towards the trunk or branches. Avoid using clematis to cover dead tree stumps as they can become hosts for diseases such as honey fungus.
Smaller clematis like some of the group 3s, look wonderful in a container with an obelisk or trellis at the back. Choose a container at least 45cm wide and deep and use a soil based compost such as John Innes No. 3. Mulch the surface with pebbles or slate to shade the roots. If possible position another pot in front to shade the pot from the heat of the sun. Don’t let it dry out. Feed weekly during spring and summer with a general purpose liquid fertiliser. Every spring replace the top 5cm of compost with a fresh layer. Mix in a slow release granular fertiliser as you go.
Ongoing Care
Clematis are hungry, thirsty plants and become stressed by drought. For the first few seasons they will need to be watered weekly. Once established you just need to water during dry spells. Clematis grown in a pot should be watered regularly.
Most clematis naturally twine around stems and supports, however it is necessary to encourage this process and guide stems to spread out evenly. Take care because clematis stems are brittle, use soft twine and figure of eight knots to prevent stems rubbing on the supports. Group 3 clematis growing through roses will need very little tying in as they will scramble naturally through the shrub.
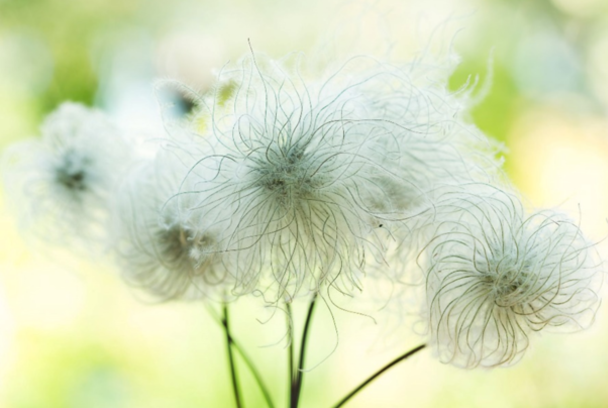
Leaving the last of the flowers without deadheading will allow them to go to seed. The fluffy seed heads are a feature in themselves and look lovely covered in frost.

Clematis Problems
Clematis can be attacked by the usual garden pests such as aphids, snails and earwigs. Try to remove pests by hand or live with what is a healthy garden ecosystem. Spraying with insect killer will kill the good bugs too. Aphids will also recolonise faster than their predators like ladybirds making the problem even worse .
Green Petal occurs as a result of flowers emerging when its still too cold. Newer flowers won’t be affected.
Water stressed plants will be prone to powdery mildew.
Clematis slime flux is a bacterial infection in cuts or damaged stems. Try cutting out the stem which is oozing. This could save the plant, but don’t compost the diseased prunings.
Clematis Wilt is a fungal disease causing plants to die suddenly and without apparent reason. Stems blacken and wilt quickly. This is most likely to affect the large flowered varieties. If you suspect clematis wilt check down the stems. Wilting may be a sign of a damaged stem which has snapped in the wind or been grazed by snails. Keeping your plant healthy helps to prevent wilt. Plant your clematis deep, keep the soil moist and feed appropriately. Prune out the damaged parts of the vine down to healthy tissue and if necessary down to soil level. Burn or bin the prunings. New healthy shoots may be formed at or below ground level. Disinfect your tools after pruning and between pruning different plants.
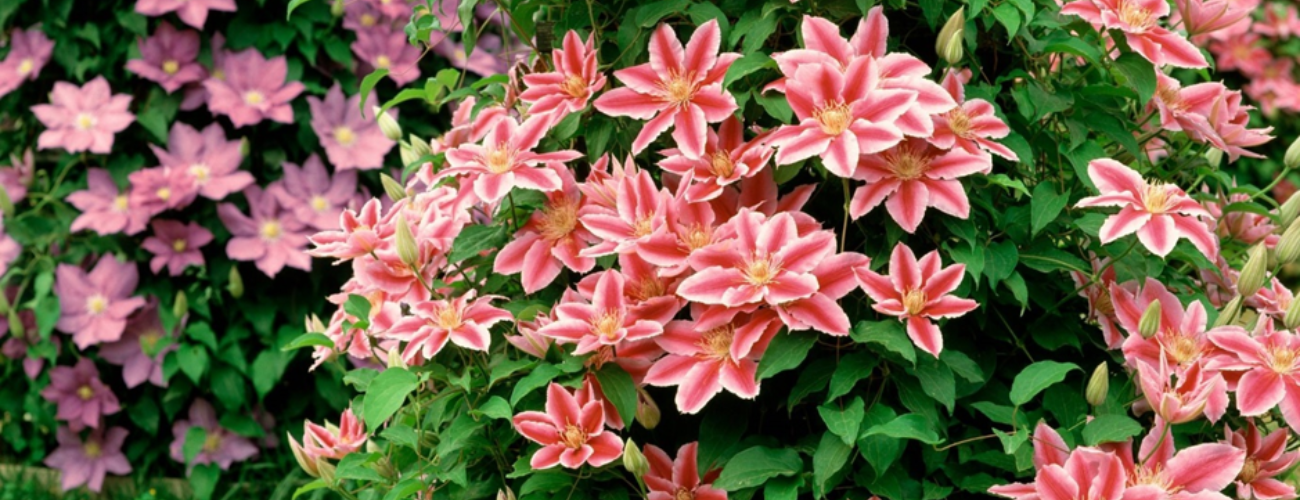
Planting clematis is a great way to add some colour and interest to your garden. By following our tips you will be well on your way to growing a healthy and beautiful plant. With a little bit of effort, you will be rewarded with striking flowers and a stunning addition to your garden. There are so many varieties and cultivars available that there will always be one that suits your garden.
By our resident horticultural expert


